Integrating Uppy With Pintura Image Editor A JavaScript Image Editor
In this tutorial we’ll integrate Uppy with Pintura Image Editor to visually optimise and compress images before they’re uploaded to the server.
Compressing and cropping images before they’re send to the server can save bandwidth, save manual cropping work, and allows the user to have more control over their own content.
Use the techniques described in this article to enable your users to edit profile pictures, photo albums, or any other imagery that they upload to your server. All while still being able to set content restrictions, like crop aspect ratio, minimum image size, and available filters.
We’ll start with the default Uppy implementation. Once we have that up and running we’ll add the Pintura Image Editor integration.
Please note that Uppy doesn’t currently support editing remote files, so Pintura won’t be able to edit images provided by Uppy Companion plugins.
Setting up Uppy
Let’s begin by adding the Uppy stylesheet and script to the page.
<!DOCTYPE html>
<html>
    <head>
        <meta charset="UTF-8" />
        <title>Uppy</title>

        <!-- add the Uppy styles to the head -->
        <link
            href="https://transloadit.edgly.net/releases/uppy/v1.2.0/uppy.min.css"
            rel="stylesheet"
        />
    </head>
    <body>
        <!-- add the Uppy script to right before the closing body element -->
        <script src="https://transloadit.edgly.net/releases/uppy/v1.2.0/uppy.min.js"></script>
    </body>
</html>
Now we’ll add the HTML element that will contain the Uppy instance.
Note that I’ve shortened the style and script tags to keep the code snippet readable.
<!DOCTYPE html>
<html>
    <head>
        <meta charset="UTF-8" />
        <title>Uppy</title>
        <link href="uppy.min.css" rel="stylesheet" />
    </head>
    <body>
        <!-- add the Uppy HTML element -->
        <div id="drag-drop-area"></div>

        <script src="uppy.min.js"></script>
    </body>
</html>
All right, let’s extend the script to load Uppy.
<body>
    <div id="drag-drop-area"></div>

    <script src="uppy.min.js"></script>

    <!-- add the Uppy script init logic -->
    <script type="module">
        var uppy = Uppy.Core()
            .use(Uppy.Dashboard, {
                inline: true,
                target: '#drag-drop-area',
            })
            .use(Uppy.Tus, { endpoint: 'https://master.tus.io/files/' });

        uppy.on('complete', (result) => {
            console.log(
                'Upload complete! We’ve uploaded these files:',
                result.successful
            );
        });
    </script>
</body>
Refresh your browser window and Uppy should now appear like shown below:
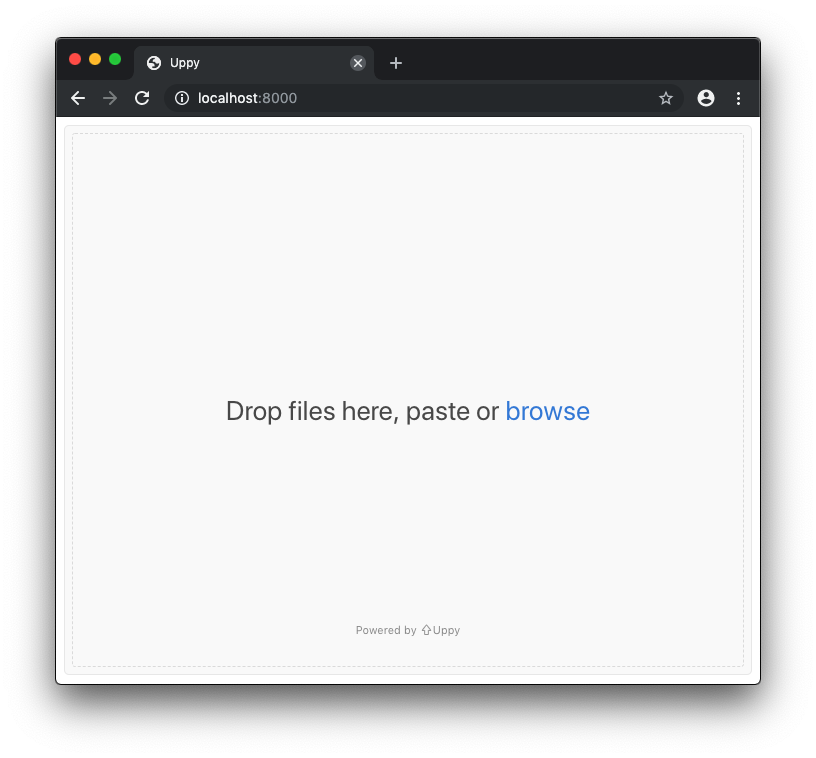
You can drop files and upload them as well, it’ll all work automagically.
Let’s move on to the Pintura Image Editor integration.
Integrating Pintura Image Editor with Uppy
To allow editing of the image we need to load Pintura when an image is dropped. We can do this by leveraging the onBeforeFileAdded function.
First however we’ll need to add the Pintura styles and scripts.
<!DOCTYPE html>
<html>
    <head>
        <meta charset="UTF-8" />
        <title>Uppy</title>
        <link href="uppy.min.css" rel="stylesheet" />

        <!-- Add the Pintura style tag -->
        <link href="pintura.css" rel="stylesheet" />
    </head>
    <body>
        <div id="drag-drop-area"></div>

        <script src="uppy.min.js"></script>

        <!-- Add the Pintura bridge function tag -->
        <script src="useEditorWithUppy.js"></script>

        <!-- Uppy script init logic -->
        <script type="module"></script>
    </body>
</html>
Now we’ll link up with the Uppy onBeforeFileAdded function. We’ll zoom in on the JavaScript code to make things easier to read.
The onBeforeFileAdded function allows us to validate the dropped file. If we return false the file will be rejected, if we return true, it will be added to the list. We need to edit the file and then add the result of the user edit to the list of files.
It’s the best location to integrate our image editing flow.
Let’s set up the script so it prevents files from being added.
<script type="module">
    // initialise Uppy
    var uppy = Uppy.Core({
        onBeforeFileAdded: function (file) {
            // prevent the file from being added
            return false;
        },
    })
        .use(Uppy.Dashboard, {
            inline: true,
            target: '#drag-drop-area',
        })
        .use(Uppy.Tus, { endpoint: 'https://master.tus.io/files/' });
</script>
Now we need to edit the file we just rejected with Pintura. We’ll add the useEditorWithUppy bridge and load pintura.
// import the function to open the editor
import { openDefaultEditor } from './pintura/pintura.js';

// initialise Uppy
var uppy = Uppy.Core({
  onBeforeFileAdded: useEditorWithUppy({
    // Method used to create Pintura Image Editor
    openDefaultEditor,

    // The editor options
    {
      imageCropAspectRatio: 1,
    },

    // Reference to Uppy addFile API
    () => uppy.addFile
  }),
})
  .use(Uppy.Dashboard, {
    inline: true,
    target: "#drag-drop-area",
  })
  .use(Uppy.Tus, { endpoint: "https://master.tus.io/files/" });
You can now use the Uppy file upload library together with Pintura to handle image uploads.
See the results below. Please note that this animation shows version 6 of the editor.
Find out more about Pintura Image Editor on the product site
If you’re using DropZoneJS you might also be interested in Integrating DropzoneJS with a JavaScript Image Cropper to Optimise Image Uploads
Or join my newsletter
